Xamarin Forms with Braintree
General Setup and Pay with Credit Card
It’s very common to have credit card processing in applications offering services or that are product marketplace based. A great option to process payments is the solution Braintree Payments provide.
Braintree Payment Gateway is a simple and modern way to accept payments. Along with its list of flexible features, it provides the ability to merchants to accept payments online or within a mobile application.
In this post, will be showing how to do the Braintree client-side full integration in a Xamarin Forms app.
Before Starting
It’s important to know that you need to have a sandbox account created and also the backend server-side implementation. Check more information about it here.
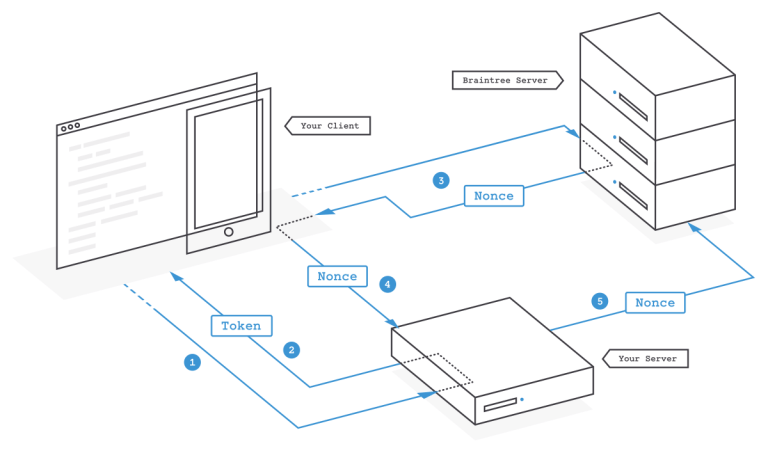
The first thing you need is to generate a client token in your server which will be used to initialize the client SDK with the client token returned. Here you can find information on how to do it: https://developers.braintreepayments.com/guides/authorization/client-token.
After you have this setup, we are ready to get started.
Let's start with our project
Android Setup
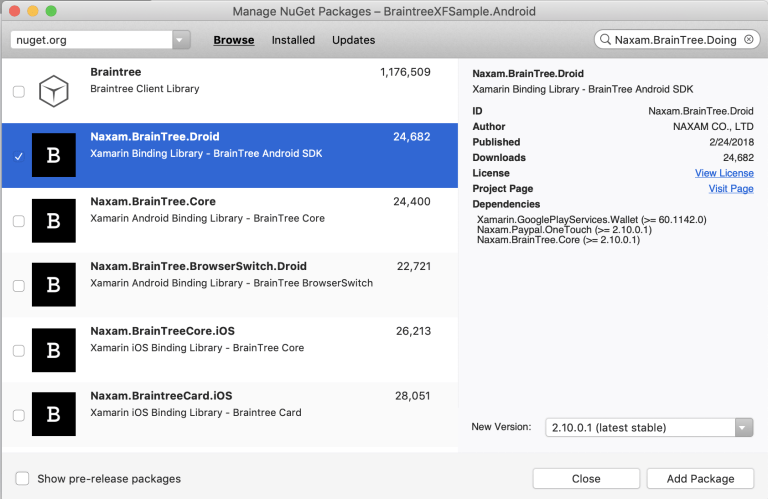
Install the package Naxam.Braintree.Droid.
In the AndroidManifest.xml make sure to add the wallet metadata:
iOS Setup
Install the package Naxam.BraintreeCard.iOS.
The following packages will also be used in this sample:
- Acr.UserDialogs: Used to display a loading while getting the card tokenization response.
- Plugin.CurrectActivity: Used in the Android project to know which is the current activity.
- XamarinFastEntry.Behaviors: Used for validating the credit cards fields.
To Code !!!!!
In the Xamarin Forms project let’s create a new interface called IPayService.
In this interface, we will have the following:
- InitializeAsync: Initializes the Braintree SDK with the client token (Client token is provided by your backend)
- CanPay: To know if everything is initialized and ready to use
- TokenizeCard: Tokenizes the provided credit card
- OnTokenizationSuccessful: An event that will raise if the card tokenization was successful
- OnTokenizationError: An event that will raise if the card tokenization failed
In the Xamarin Android project provide the native implementation for IPayService.
In the Xamarin iOS project provide the native implementation for IPayService.
In the Xamarin Forms project let’s create a ViewModel to add the payment handling.
Also, let’s create a model that will represent credit card data:
Finally, create some UI to gather the credit card details:
Let’s test
For the sake of this demo, I’m just displaying the tokenization result once you tap on pay but when getting the event OnTokenizationSuccessful is where you should call your backend endpoint to process the payment.
Now that we are ready to test the tokenizer of cards and initialization fo the service.
Pay with google Pay and Apple Pay
Initial Configurations
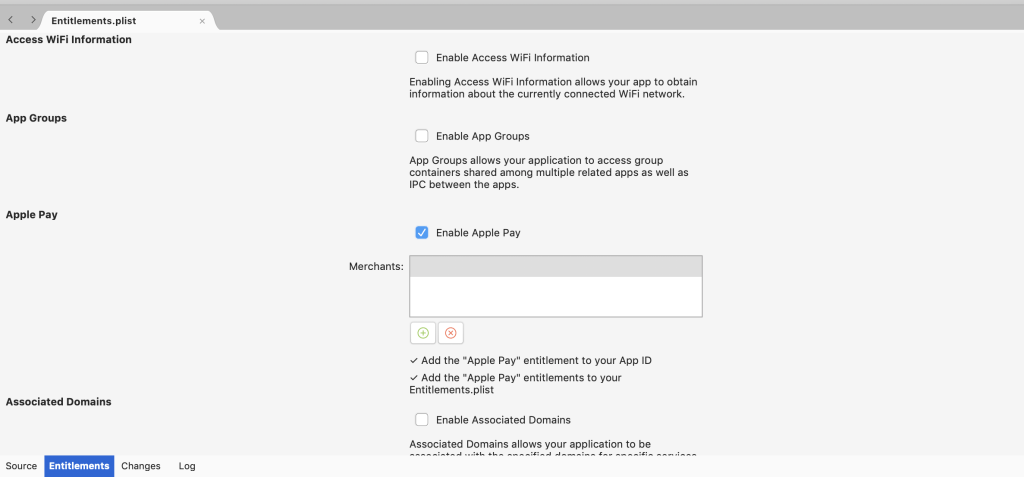
In iOS, we have to do some setup configurations in the Apple Portal. (Here the steps). Then in the Entitlements.plist file, we need to enable Apple Pay and add the Merchant Id (for dev and prod).
To code !!!!!
In our Forms project, we added a new method to the IPayService interface called TokenizePlatform, that will handle the tokenization based on the native platform payment offering (Apple Pay in iOS and Google Pay in Android), this method receives the payment amount and the merchant id.
Xamarin iOS project
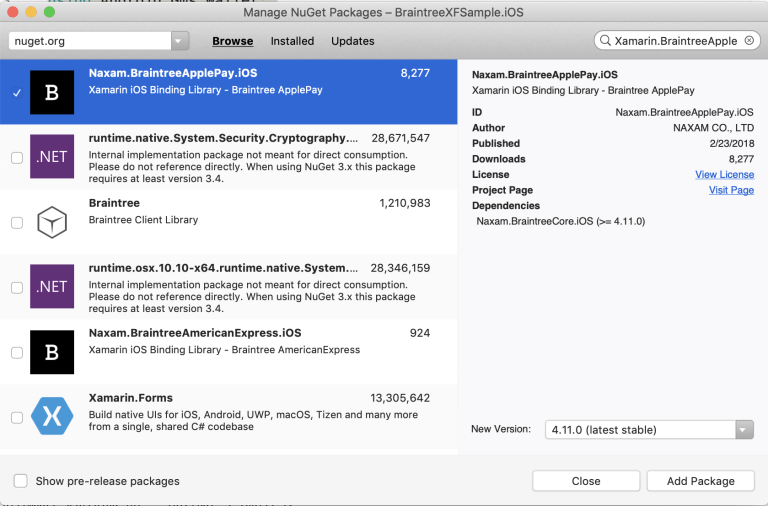
Add the package Naxam.BraintreeApplePay.iOS.
The iOSPayService will provide the Apple Pay Braintree implementation for TokenizePlatform method as well as implementing the PKPaymentAuthorizationViewControllerDelegate, which has handling methods for the following events: DidAuthorizePayment, PaymentAuthorizationViewControllerDidFinish and WillAuthorizePayment.
When creating the BTApplePayClient there are some important informations we need to pass:
- CountryCode (Country where the payment will be processed)
- CurrencyCode (Currency for processing the payment)
- PaymentSummaryItems (A summary item description of what you are paying)
Xamarin Android project
The AndroidPayService will provide the Google Pay Braintree implementation for TokenizePlatform method.
Xamarin Forms project
In PaymentPageViewModel we call the TokenizePlatform method to process native platform payment option.
Since we are using the same sample for all the payments options (platform, credit card, paypal, etc). Added PaymentOptionEnum, to provide a way to select the payment option to be used.
Also added constants for the MerchantId and the total amount to process.
In the XAML view added the Platform payment option and by using the OnPlatform extension will change the icon according to the native platform option (Google Pay/Apple Pay).
Ready for test
For the sake of this demo, I’m just displaying the tokenization result once you tap on pay but when getting the event OnTokenizationSuccessful is where you should call your backend endpoint to process the payment.
Payments with PayPal
Before starting
We need to do some initial setup in Braintree control panel by following Braintree PayPal setup guide.
To Code !!!!!
In the Forms project, we added a new method to the IPayService interface called TokenizePayPal, that will handle the PayPal tokenization.
Xamarin iOS project
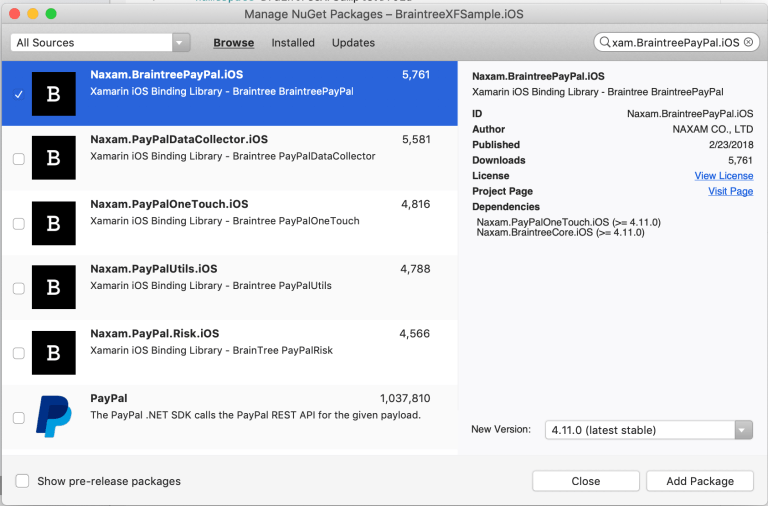
Add the package Naxam.BraintreePayPal.iOS
In the Info.plist file, we need to add an URL Scheme that will handle workflows that involve switching to another app or SFSafariViewController.
The format should be bundle identifier + .payments. For example, if bundle identifier is com.companyname.sample then it will be com.companyname.sample.payments.
In the AppDelegate set the url scheme you added in the Info.plist to the BTAppSwitch.SetReturnURLScheme method and also add the redirect methods.
Implement the TokenizePayPal method added to the IPayService in the iOSPayService. Also provide implementation for delegates: BTSwitchDelegate and BTViewControllerPresenter which will handle the PayPal interactions.
Xamarin Android project
In the AndroidManifest.xaml file add the BraintreeBrowserSwitchActivity.
Implement the TokenizePayPal method added to the IPayService in the AndroidPayService by calling PayPal.AuthorizeAccount(mBraintreeFragment).
Xamarin Forms project
In the PaymentPageViewModel we call the TokenizePayPal method to process Paypal payment option.
In the XAML view add the PayPal payment option.
Let's construct a drop UI for payments
Required Starting? Nope, to Code !!!!!
In the Forms project, we added the following methods to the IPayService interface: OnDropUISuccessful, OnDropUIError and ShowDropUI to be able to support and handle the drop-in UI feature.
Xamarin iOS project
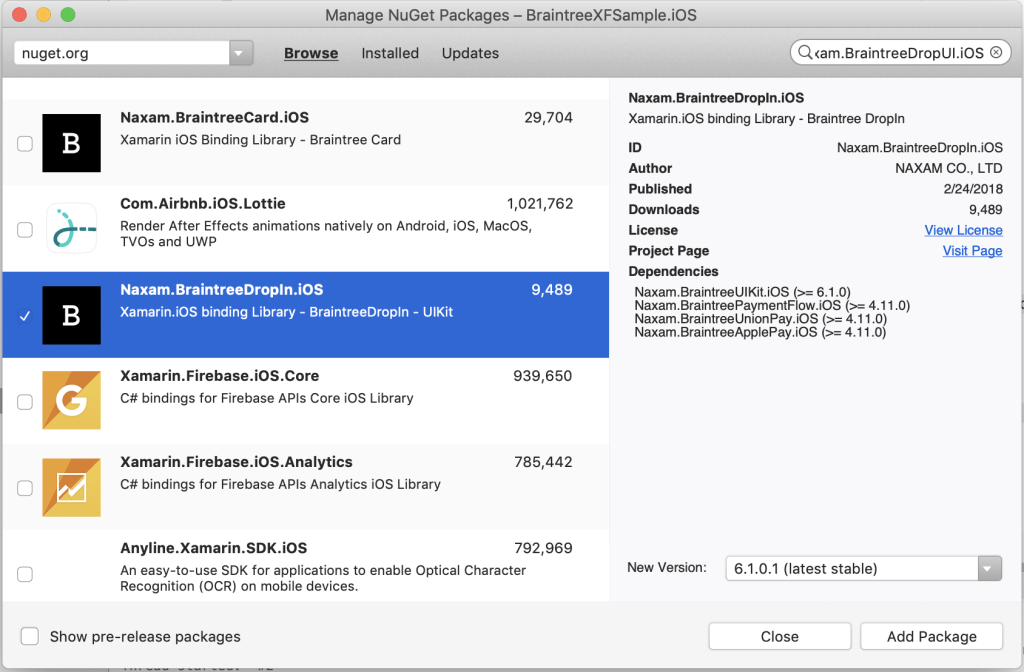
Add the package Naxam.BraintreeDropUI.iOS.
Implement the ShowDropUI in the iOSPayService this method will trigger the drop-in UI that displays a popup with all the payment options supported. In the specific case of Apple Pay, even when using the drop-in UI feature, we have to handle the tokenization based on the native platform payment offering so we will call the TokenizePlatform method.
Xamarin Android project
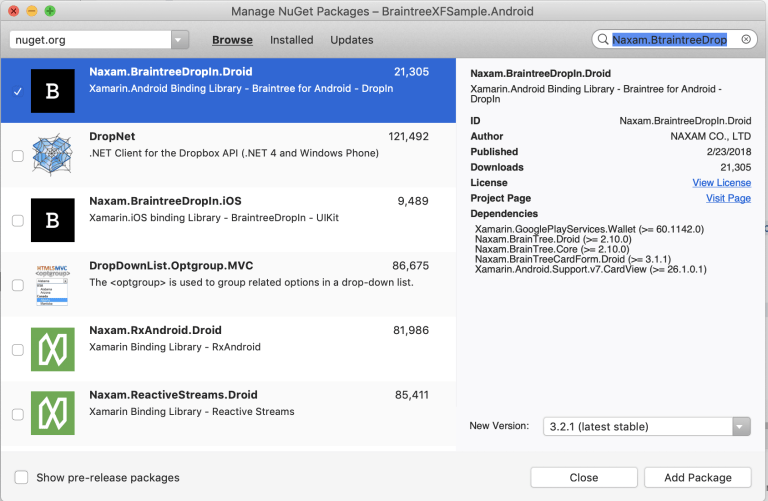
Add the package Naxam.BraintreeDropIn.Droid.
Implement the ShowDropUI in the AndroidPayService and add a OnActivityResult static method to handle Drop-In UI response.
In the MainActivity override OnActivityResult method and call AndroidPayService.OnActivityResult to process the result.
Xamarin Forms project
In the PaymentPageViewModel we call the ShowDropUI method to show the popup with all payment options.
In the XAML view add the DropUI option.
Ready for test
Source Code
As always here's the Github Repository