Xamarin Forms BottomSheet
Bottom Sheet
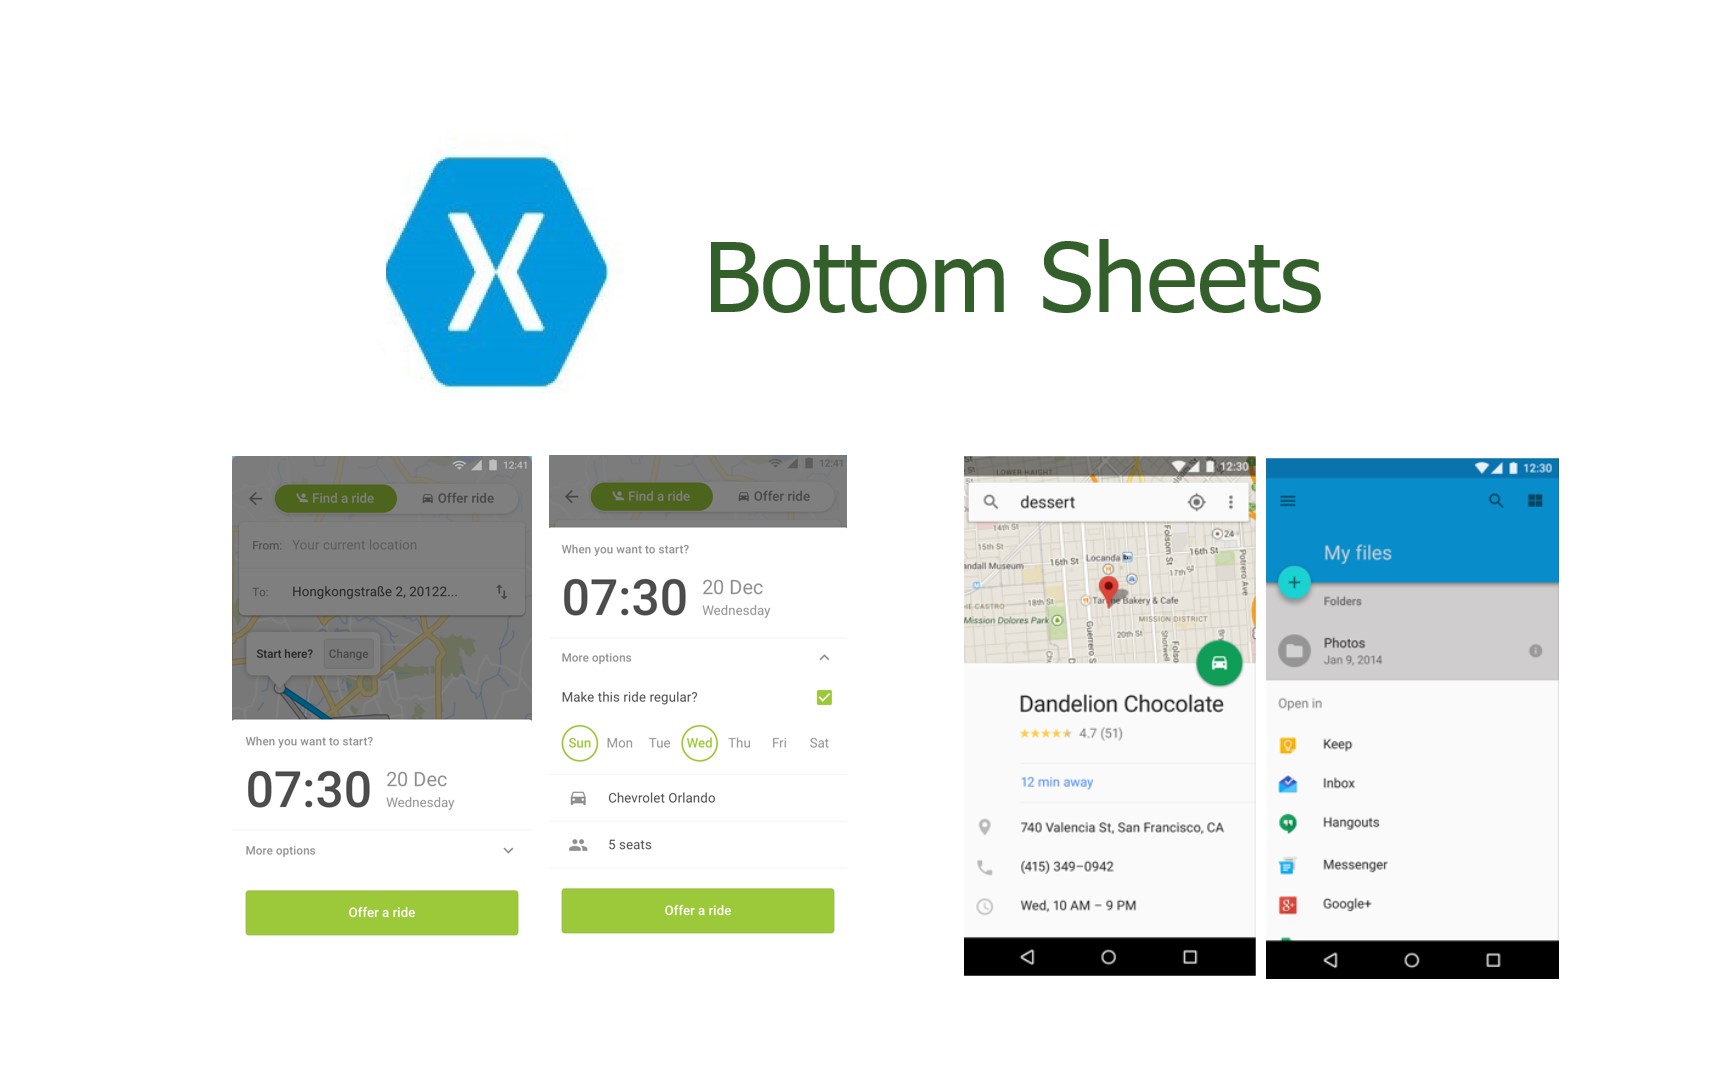
Bottom sheets are used commonly nowadays to give user a sub view with-in a main view with animation and sliding options. These are famous styles used by Google, Facebook, Whatsapp and many other applications.
Let’s get started to create bottom sheets in Xamarin forms. Nothing fancy sit tight and get to know the technique behind this concept.
Relative Layout
RelativeLayout is used to position and size views relative to properties of the layout or sibling views. Unlike AbsoluteLayout, RelativeLayout does not have the concept of the moving anchor and does not have facilities for positioning elements relative to the bottom or right edges of the layout. RelativeLayout does support positioning elements outside of its own bounds. RelativeLayout can be used to position views on screen relative to the overall layout or to other views.
Well I have used RelativeLayout to fit the bottom sheet draggable position to be set in bottom with some content available out to let user know that there is a bottom sheet available to drag. That is a sibling layout just stay with another sibling layout in the same page with consuming some attributes of the parent layout. Relative layout YConstraint and HeightConstraint helps you to achieve this.
Here Frame Hast shadow
Let’s understand the above constraints. This is actually similar to how we define relative layouts in android.
RelativeLayout.YConstraint — constraint to handle the Y position(coordinates) of the view.
RelativeLayout.HeightConstraint — constraint to hand the height of the view.
RelativeLayout.WidthConstraint — constraint to handle the width of the view.
Each constraint has properties of Type, Property, Factor, Constant and ElementName.
- Type — whether the constraint is relative to the parent or to another view.
- Property — which property to use as the basis for the constraint.
- Factor — the factor to apply to the property value.
- Constant — the value to use as an offset of the value.
- ElementName — the name of the view that the constraint is relative to.
For more information about relative layouts please visit this Official Documentation of Microsoft.
YConstraint in the above code has Factor value of 0.93. You can use that value between 0–1 to adjust the initial height that is visible to the user.
Gesture recognizer
Pan updated method in code behind
Pan Detection
When pan is detected we need to identify whether it’s up or down. Ill share the code for all direction detection of pan gesture. You can use this method to detect the pan direction and place your code accordingly to make any actions. I have used TranslateTo method to move the bottom sheet frame. So, for every pan with running status will have a movement of its place by its Y coordinate. We can get the total pan Y from PanUpdatedEventArgs parameter of PanUpdated method. It has a property of TotalY which has the total pan in Y coordinate.When pan is running it should not go beyond the screen height then we will get rid of the pan controls. In order to avoid that we should first get the bottom and top insets and if any bottom bar placed that height as well. The sum of all these will be placed in valueToDeduct.
Below is the output of the sample I am sharing with you guys, Hope you can make it better with this startup.
This is a perfect way to start to create bottom sheet in your applications. You can use TranslateTo method with third parameter as the time to show some animation as well. Play with this cool feature, use your creativity and give new life to it. Here is the source code in GitHub . Xamarin Forms never been easier.
If you face any issues buzz it by email to
jorgeperalesdiaz@enigma-mx.com
