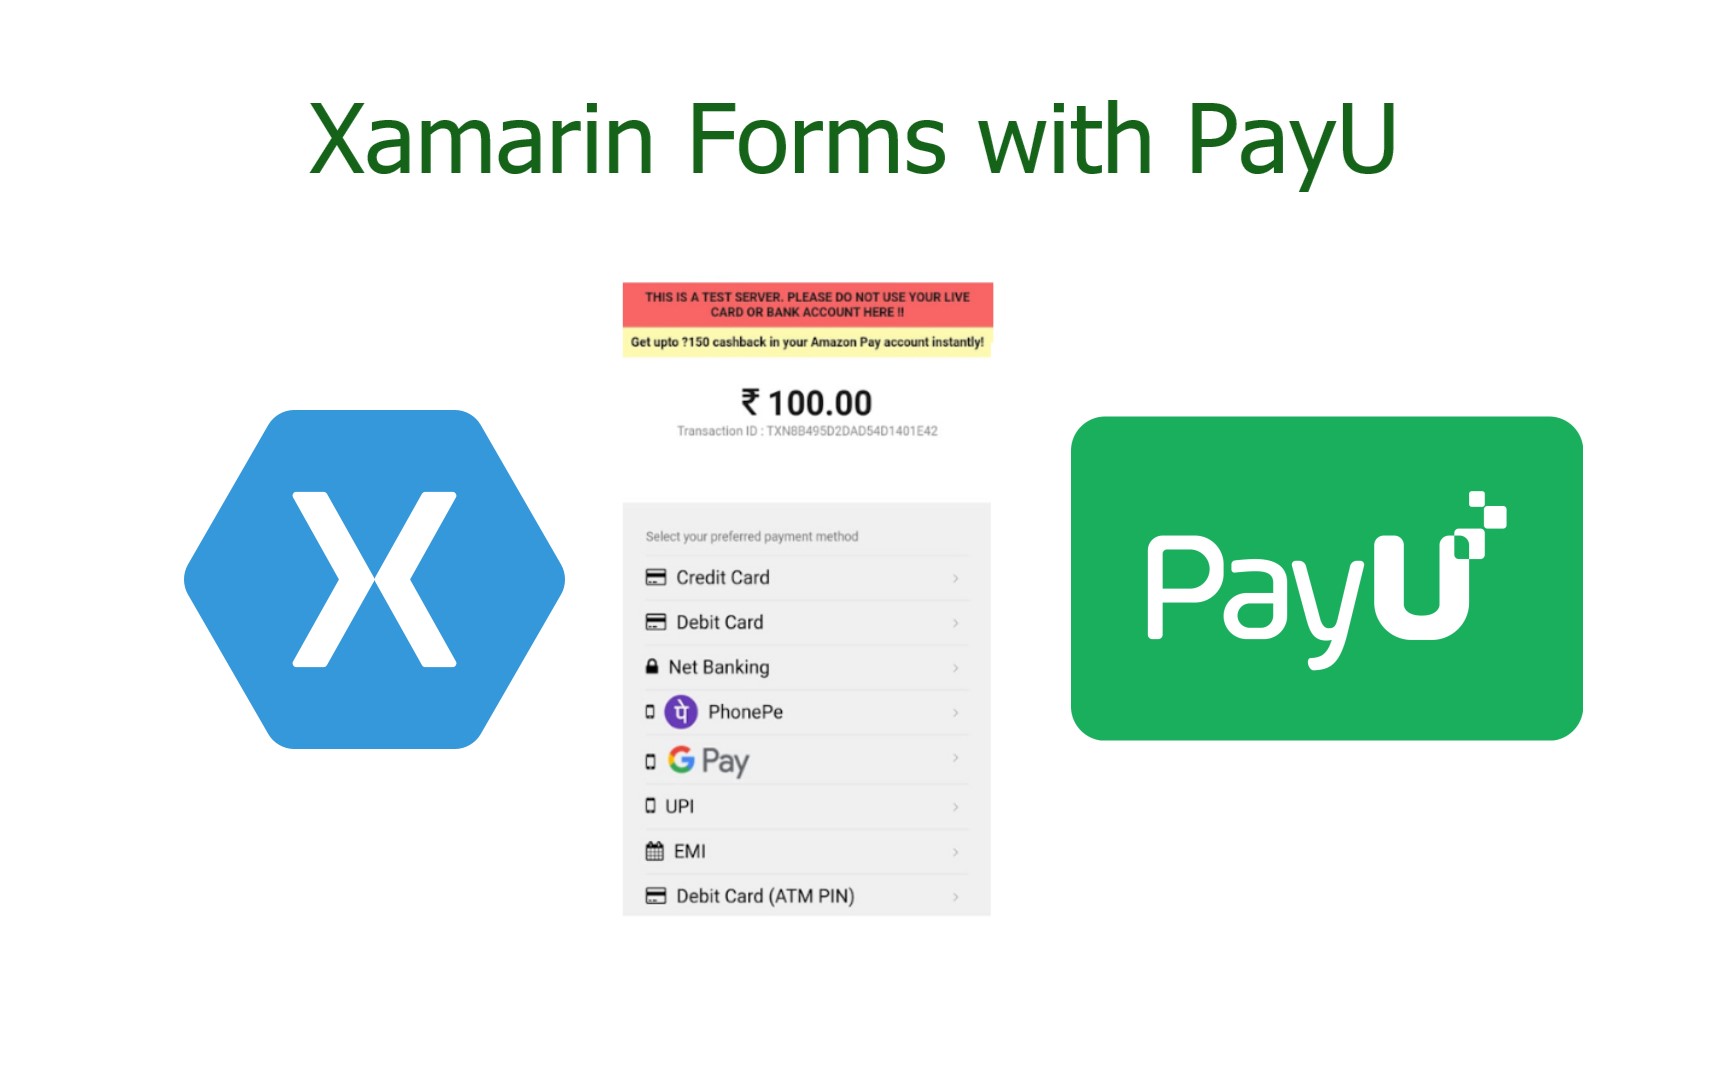
Xamarin Forms with PayU
Introduction
Today, we are going to see how to integrate the PayUMoney Payment Gateway with Xamarin.Forms Application. I did this payment gateway using WebView and custom renderer, am not using any PayUMoney SDK. In Xamarin Forms WebView default HTTP method is GET. But here I write code for WebView renderer and changing the HTTP method GET into POST and passing an encoded string from shared to platform-specific and added this string as the Body of the POST method. My experience if parsing the Native PayU SKD to Xamarin Library, it has difficult and there is no support from the PayUMoney team.
Let's go to code !!!!
Create Solution
For that go to Visual Studio and click on new Project, then select Mobile Application, Name it and select the location.
After we've created the project, create a new class with this name PayWebView and it should be inherited from WebView, so create new properties PostData and Url both string, check this out.
Now design UI, open MainPage.xaml and add the namespace of PayWebView class, we created in the last step and add PayWebView control in UI. This page code is given below.
Next, open MainPage.xaml.cs file and create multiple variables like:
- amount
- mail id
- product info
- name
- success url
- failure url
If payment is success it will redirect to success url or else goes to failure url, then only you will know the payment status in WebView. The code is given here.
It's time to go for platform-specific, just expand the android project and create new class named as PayWebView class. Get the control and set the post url and postData from the PayWebView variables we created in first. This code is given below.
Next, expand iOS project, and get the Native control and create NSMutualUrlRequest and set the url and data and Http method is POST, then call LoadRequest method.
Finally, we have done all the things, now rebuild and run the application and Test it.
As always here's the code on Github.
